Imagine sinking your teeth into warm, gooey 24 hour cinnamon rolls fresh out of the oven, their sweet aroma filling your kitchen with pure delight. Whether you’re a seasoned baker or just starting out, mastering the art of making these delectable treats can elevate your baking game to a whole new level. With their soft, pillowy texture and rich cinnamon-sugar filling, these rolls are a timeless classic that everyone loves. But what makes 24 hour cinnamon rolls truly special is the extra time they spend resting, allowing the flavors to deepen and the dough to become irresistibly tender.
These rolls are more than just a dessert; they’re an experience. The 24-hour resting period not only enhances the taste but also makes the process more convenient, giving you the flexibility to prepare them ahead of time. Whether you’re baking for a special occasion, a cozy family breakfast, or simply to treat yourself, 24 hour cinnamon rolls are a guaranteed crowd-pleaser. From the moment you mix the dough to the final drizzle of cream cheese frosting, every step is an opportunity to create something truly magical.
In this comprehensive guide, we’ll walk you through everything you need to know about making these scrumptious rolls, from the science behind the resting period to expert tips for perfect results every time. We’ll also explore creative variations, troubleshooting common issues, and even share some fun facts about cinnamon rolls. So, grab your apron and let’s dive into the world of 24 hour cinnamon rolls!
Read also:Why Ear Cleaning Headphones Are A Gamechanger For Ear Hygiene
Table of Contents
- What Makes 24 Hour Cinnamon Rolls So Special?
- How Can You Prepare Perfect Dough for 24 Hour Cinnamon Rolls?
- Why Is the Resting Period Important for 24 Hour Cinnamon Rolls?
- What Are the Best Fillings and Toppings for Cinnamon Rolls?
- How Do You Bake 24 Hour Cinnamon Rolls Perfectly?
- Can You Freeze Cinnamon Roll Dough for Later Use?
- What Are Some Common Mistakes to Avoid When Making Cinnamon Rolls?
- Frequently Asked Questions
What Makes 24 Hour Cinnamon Rolls So Special?
At first glance, 24 hour cinnamon rolls may seem similar to their quicker counterparts, but the magic lies in the extended resting period. This extra time allows the dough to ferment slowly, resulting in a more complex flavor profile and an incredibly soft texture. During this process, the yeast works its magic, breaking down the sugars and starches in the dough, which not only enhances the taste but also improves the structure of the rolls.
Another advantage of the 24-hour method is convenience. By preparing the dough the night before, you can save time in the morning and enjoy freshly baked rolls without the hassle of starting from scratch. This makes them perfect for busy weekends, holidays, or even as a thoughtful homemade gift. Plus, the anticipation of waking up to the smell of cinnamon and sugar wafting through your home is truly unbeatable.
Whether you’re a fan of the classic cinnamon-sugar combination or love experimenting with unique flavors, 24 hour cinnamon rolls offer endless possibilities. From adding a hint of citrus zest to incorporating nuts or dried fruits, the resting period ensures that every ingredient melds together beautifully, creating a harmonious blend of flavors in every bite.
How Can You Prepare Perfect Dough for 24 Hour Cinnamon Rolls?
Creating the perfect dough is the foundation of any great cinnamon roll, and with the 24-hour method, precision is key. Start by using high-quality ingredients, such as bread flour, which has a higher protein content than all-purpose flour, ensuring a chewy yet tender texture. Warm milk, butter, sugar, eggs, and yeast form the base of the dough, providing the ideal environment for the yeast to thrive.
To achieve the best results, knead the dough until it becomes smooth and elastic. This can be done by hand or using a stand mixer with a dough hook. Proper kneading develops the gluten, giving the rolls their signature structure. Once the dough is ready, let it rise in a warm, draft-free area until it doubles in size. After the initial rise, shape the dough into a rectangle, spread the filling evenly, and roll it tightly to create those beautiful spirals.
After shaping, cover the rolls and place them in the refrigerator for the 24-hour rest. This slow fermentation not only improves the flavor but also makes the dough easier to handle when it’s time to bake. With these steps, you’ll have a dough that’s ready to shine, ensuring your 24 hour cinnamon rolls turn out perfectly every time.
Read also:Pregnant Eva Angelina A Comprehensive Guide To Her Journey And Insights
Why Is the Resting Period Important for 24 Hour Cinnamon Rolls?
The resting period is the secret weapon behind the incredible taste and texture of 24 hour cinnamon rolls. During this time, the yeast continues to ferment the dough, breaking down the sugars and producing carbon dioxide, which creates those light and airy layers. This slow fermentation also allows the gluten to relax, resulting in a softer, more tender crumb.
Another benefit of the resting period is the enhanced flavor development. As the dough rests, the natural sugars caramelize slightly, adding depth and richness to the rolls. This process is similar to how sourdough bread develops its characteristic tang, making the rolls taste more complex and satisfying. Additionally, the cold temperature of the refrigerator slows down the yeast activity, preventing over-proofing and ensuring the rolls hold their shape during baking.
For those who value convenience, the resting period is a game-changer. By preparing the rolls the night before, you can simply pop them in the oven in the morning, saving time and effort. This makes 24 hour cinnamon rolls a practical choice for busy schedules while still delivering bakery-quality results.
What Are the Best Fillings and Toppings for Cinnamon Rolls?
While the classic cinnamon-sugar filling is a timeless favorite, there are countless ways to customize your 24 hour cinnamon rolls to suit your taste. The filling not only adds flavor but also contributes to the gooey, indulgent texture that makes these rolls so irresistible.
Classic Cinnamon Sugar Filling
The classic filling is a simple yet delicious combination of brown sugar, ground cinnamon, and melted butter. To prepare, mix 1 cup of brown sugar with 2 tablespoons of cinnamon, then spread a generous layer of softened butter over the rolled-out dough. Sprinkle the sugar-cinnamon mixture evenly over the butter, ensuring every bite is packed with flavor. Roll the dough tightly to create those iconic spirals, and slice into individual rolls.
Creative Ways to Elevate Your Toppings
If you’re feeling adventurous, consider experimenting with unique toppings and fillings to take your 24 hour cinnamon rolls to the next level. Here are a few ideas:
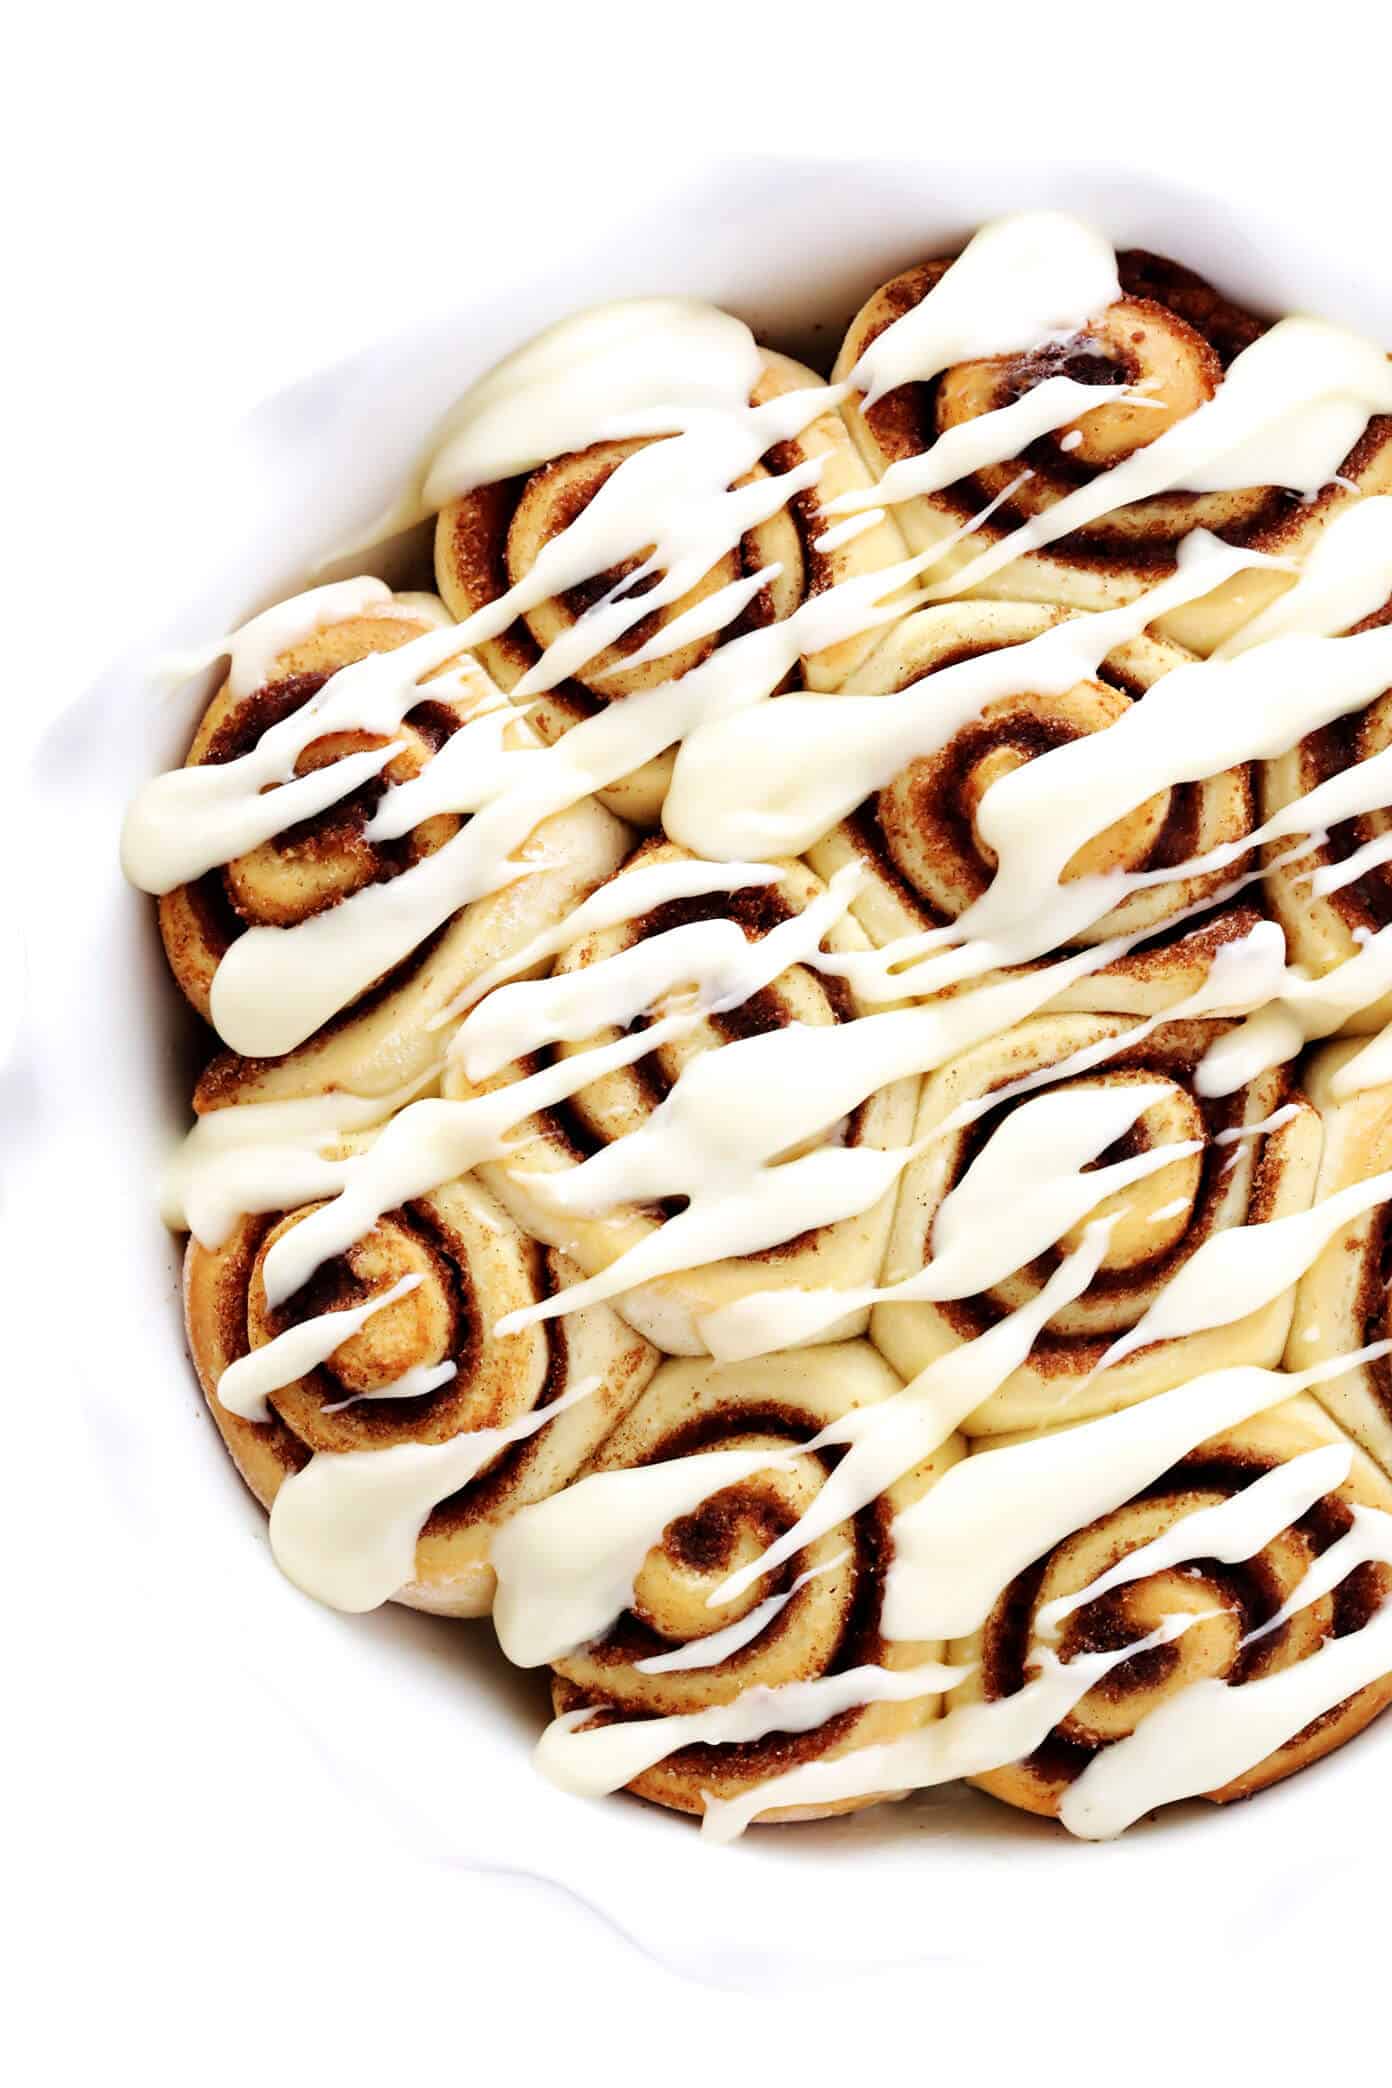
- Cream Cheese Frosting: A classic choice, this tangy-sweet frosting pairs beautifully with the warm rolls. Simply mix cream cheese, powdered sugar, vanilla extract, and a pinch of salt for a decadent finish.
- Maple Glaze: Drizzle a homemade maple glaze over the rolls for a rich, autumnal flavor. Combine powdered sugar, maple syrup, and a splash of milk for a glossy topping.
- Nuts and Fruits: Add texture and flavor by sprinkling chopped pecans, walnuts, or dried cranberries into the filling. These additions not only enhance the taste but also make the rolls more visually appealing.
With these creative options, you can tailor your 24 hour cinnamon rolls to suit any occasion or preference, making them a versatile treat for all seasons.
How Do You Bake 24 Hour Cinnamon Rolls Perfectly?
Baking 24 hour cinnamon rolls to perfection requires attention to detail and a few key techniques. Start by removing the rolls from the refrigerator and letting them come to room temperature for about 30 minutes. This allows the dough to relax and ensures even baking. Preheat your oven to 350°F (175°C) and line your baking pan with parchment paper or grease it lightly to prevent sticking.
Once the rolls have rested, bake them for 20-25 minutes, or until they’re golden brown and cooked through. To check for doneness, insert a toothpick into the center of a roll; it should come out clean. If the tops are browning too quickly, cover the pan loosely with aluminum foil to prevent burning.
After baking, let the rolls cool slightly before adding your chosen frosting or glaze. This allows the icing to melt slightly and seep into the rolls, creating that irresistible gooey texture. Serve warm and enjoy the fruits of your labor!
Can You Freeze Cinnamon Roll Dough for Later Use?
One of the greatest advantages of 24 hour cinnamon rolls is their freezer-friendly nature. If you’re not ready to bake all the rolls at once, you can freeze the shaped dough for later use. Simply place the unbaked rolls on a baking sheet, freeze them until solid, then transfer them to a freezer-safe bag or container. Properly stored, the dough can last up to 3 months.
To bake frozen rolls, let them thaw in the refrigerator overnight, then bring them to room temperature before baking as usual. This method is perfect for enjoying fresh 24 hour cinnamon rolls whenever the craving strikes, without the need to start from scratch each time.
What Are Some Common Mistakes to Avoid When Making Cinnamon Rolls?
Even experienced bakers can encounter challenges when making 24 hour cinnamon rolls. Here are some common mistakes to watch out for:
- Overloading the Filling: While it’s tempting to add extra filling, too much can cause the rolls to overflow during baking, resulting in a messy pan and uneven cooking.
- Skipping the Resting Period: Rushing the process by skipping the 24-hour rest can lead to dense, flavorless rolls. Patience is key to achieving the best results.
- Overbaking: Cinnamon rolls are best when soft and gooey, so avoid overbaking them. Keep an eye on the oven and remove the rolls as soon as they’re golden brown.
By avoiding these pitfalls, you’ll be well on your way to mastering the art of 24 hour cinnamon rolls.
Frequently Asked Questions
Can I Use Instant Yeast Instead of Active Dry Yeast?
Yes, you can substitute instant yeast for active dry yeast in your 24 hour cinnamon rolls. Simply add the instant yeast directly to the dry ingredients, skipping the need to proof it in warm water. This can save time and streamline the process.
How Do I Store Leftover Cinnamon Rolls?
To store leftover rolls, place them in an airtight container or resealable bag and keep them at room temperature for up to 2 days. For longer storage, refrigerate them for up to a week or freeze them for up to 3 months. Reheat in the microwave or oven for best results.
Can I Make These Rolls Gluten-Free?
Absolutely! Substitute the all-purpose flour with a gluten-free flour blend and add a bit of xanthan gum to mimic the elasticity of gluten. While the texture may differ slightly, gluten-free 24 hour cinnamon rolls can still be delicious with the right adjustments.
Conclusion
With their rich flavor, soft texture, and endless customization options, 24 hour cinnamon rolls are a treat worth mastering. By understanding the importance of the resting period